


Allium plant care: planting, cutting & taking care of ornamental onions

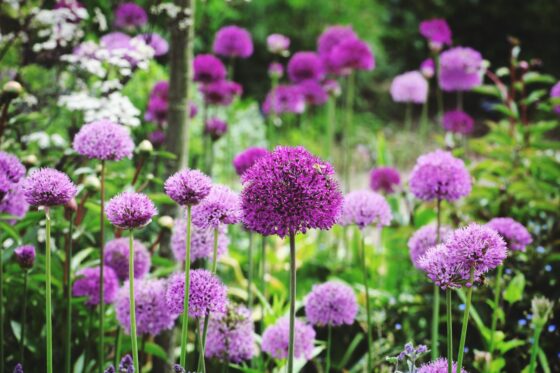
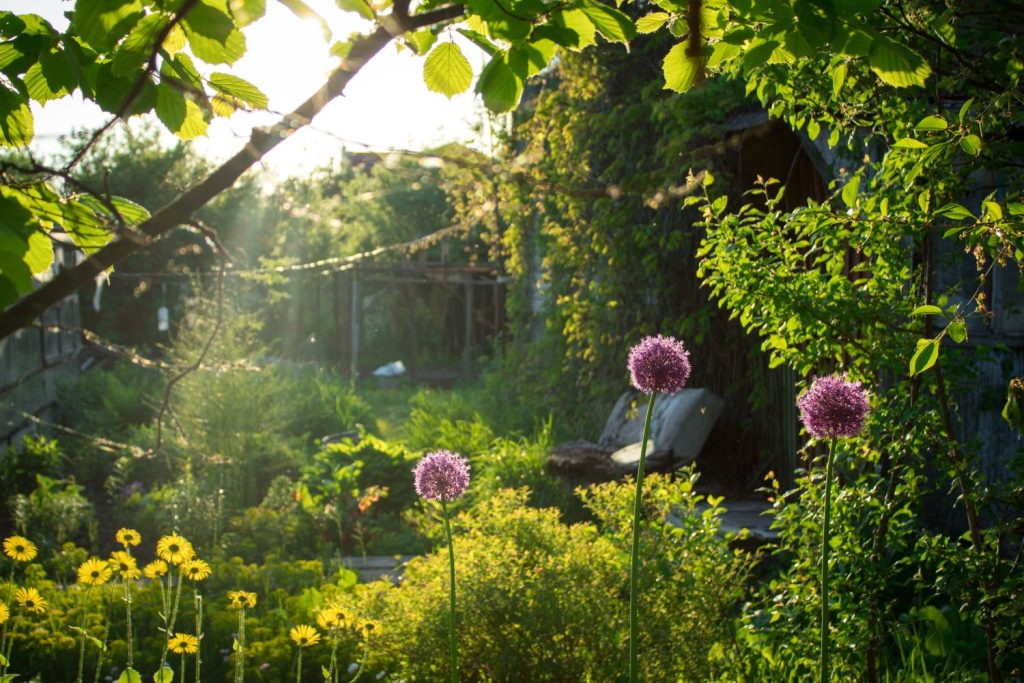
The bulbous plant can be beautifully combined in the garden and decorate the beds even after flowering. Planting and caring for ornamental onions is simple, making them ideal for low-maintenance gardens.
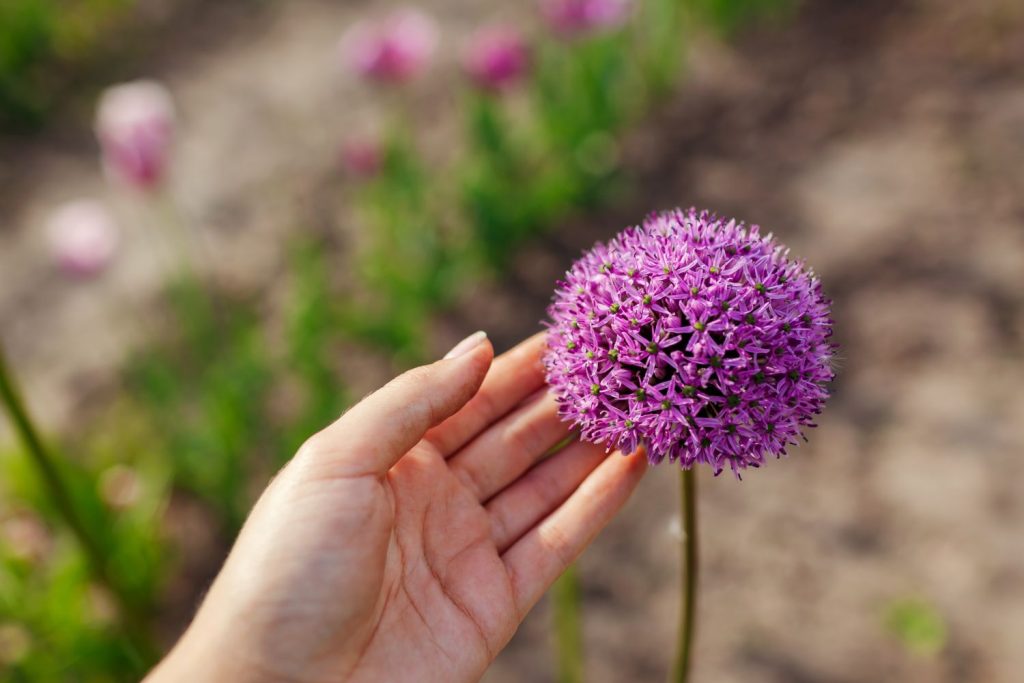
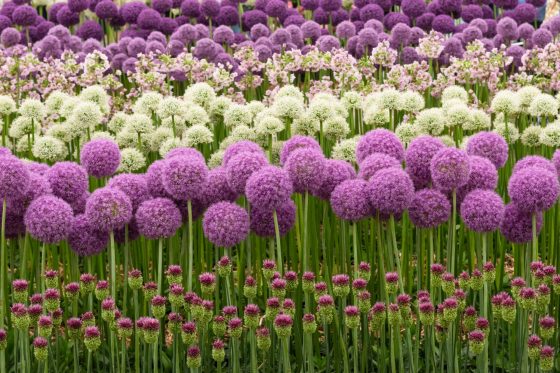
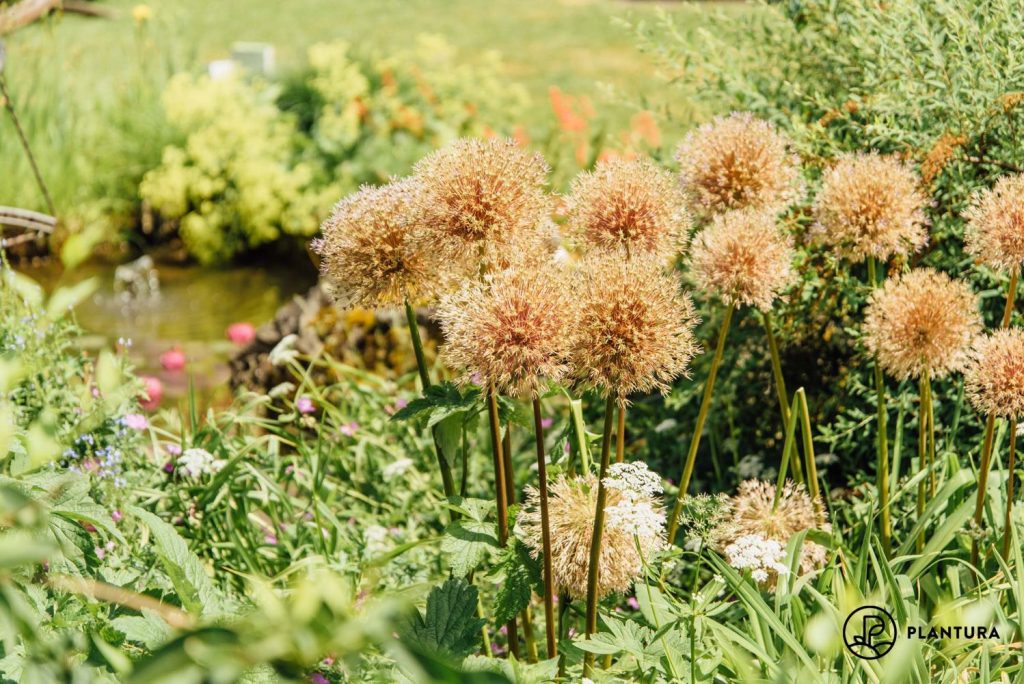
Ornamental onions (Allium) stand out clearly and often magnificently from their surroundings with their distinctive flower umbels. How best to plant the allium bulbs, the ideal location and what successful care looks like, we explain here.
Contents
Planting ornamental onions
Planting the ornamental onion is as easy as the bulbous plant is beautiful. We show you how to succeed effortlessly.
When is the time to plant allium bulbs?
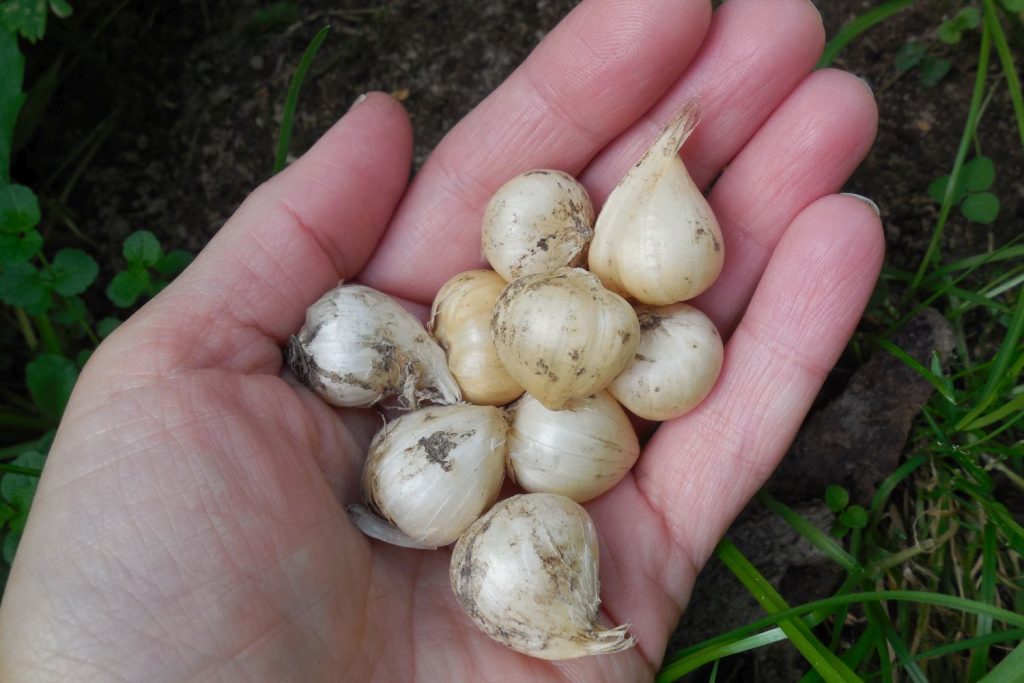
The most common hardy allium bulbs are planted from September to November. They survive the winter due to the storable bulb and sprout again through newly emerging daughter bulbs.
The right location for ornamental onion
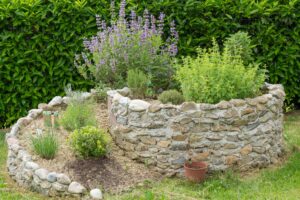
Most ornamental onion species like a sunny and correspondingly warm location, although partial shade is tolerated by certain species. More significant than the above-ground conditions, however, are the soil conditions. Again, it depends a lot on the specific type. The most common allium species require soil that is dry to fresh while others require a very dry soil with a high percentage of coarse soil particles such as sand and gravel. The soil should only contain a moderate amount of nitrogen, but should be rich in potassium and lime depending on the species. Ornamental onion species are also wonderful for the rock garden with its well-drained, sandy to stony soil. Soils that are too rich in humus, clay and waterlogged promote bulb rot, which causes the plant to die.
Tip: Planted in small groups, allium plants look particularly impressive. Therefore, plan enough space for planting.
Allium species cultivated in pots or tubs should be placed in a sheltered spot in winter, as frost penetrates more quickly into containers. Ideally, use open-pored pots to prevent waterlogging. The moisture can evaporate better through the walls.
Procedure for planting
Once you have chosen a suitable species for your garden site from the many allium varieties, it is time to prepare the soil. How you do this depends on the needs of each species. In most cases, this will involve thinning soils that are too rich in humus or clay with plenty of sand or gravel, while particularly sandy soils may even be mixed with a little potting compost. Our Plantura Organic Enriched Compost, for example, is wonderful for mixing and enriching sandy soil and is also completely peat-free.
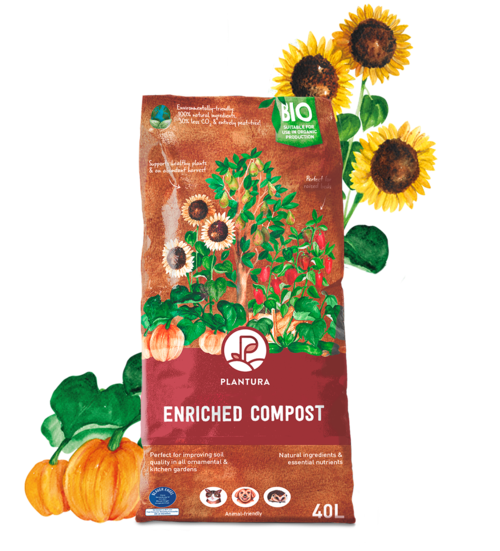
- Perfect for all crops and ornamental plants with a high nutrient requirement & for raised beds
- Improves soil quality & promotes healthy root growth
- Peat-free & organic soil: CO2-saving composition
Tip: If the soil feels gritty, it is just right for many allium species.
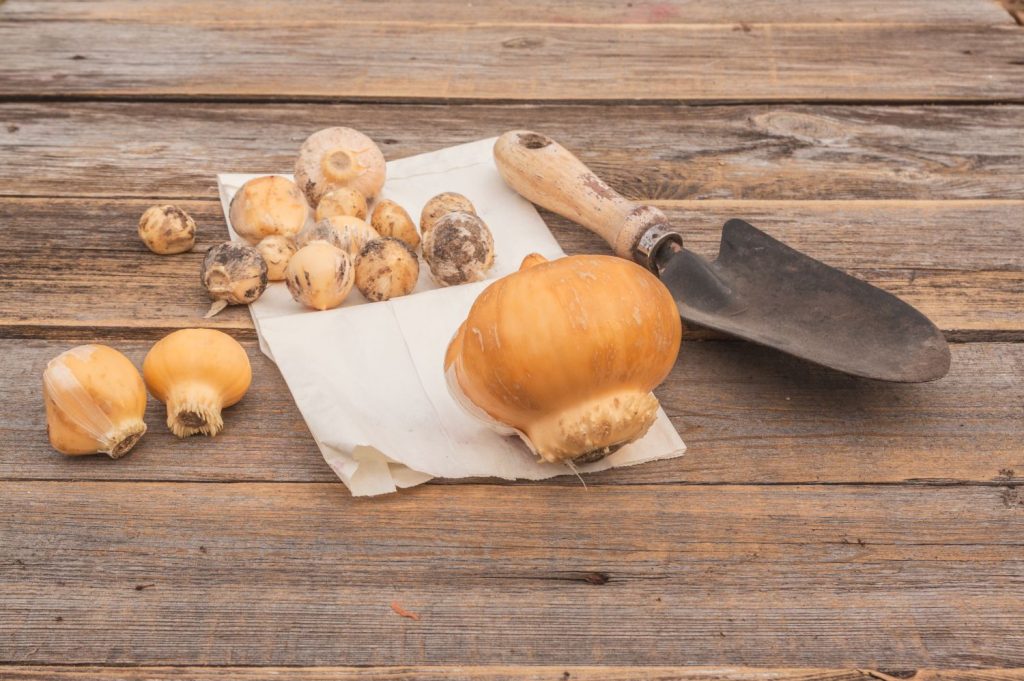
Avoid waterlogging at all costs by loosening the soil deeply and installing a drainage layer of gravel or expanded clay over the entire planting area. Then place the allium bulbs in the soil 5 to 10 cm deep with the point facing up. The depth depends on the size of the bulb but should be about three times its height.
Tip: Mark the planting site so you do not accidentally dig it up later.
A less common method is sowing allium seeds. These are less expensive than onions and save you from digging up the mother and daughter bulbs.
Sow allium in the open ground in a few steps:
- Sow the seeds in late summer.
- Prepare the soil according to the needs of the species.
- Press the seeds 1 cm deep into the soil.
- Space the seeds about 10 cm apart.
- Make sure to keep the substrate moist.
Note: Seed germination varies from species to species and can take from 12 weeks to 1 year.
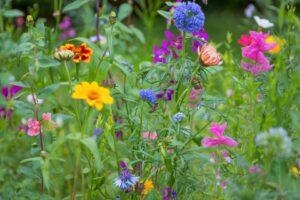
Combining ornamental onions
Early flowering ornamental onion combines beautifully with plants that cover the wilted foliage of allium in summer and love a hot, sunny location. We have gathered a few suitable neighbours for you:
- Catmint (Nepeta)
- White gaura (Gaura lindheimeri)
- Lady’s mantle (Alchemilla)
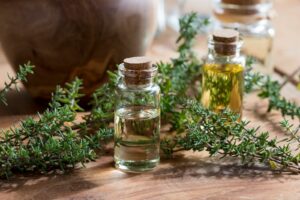
- Lavender (Lavandula)
- Geraniums (Geranium)
- Drought-loving ornamental grasses
Caring for allium
With suitable soil conditions, care is not a major challenge. Water your bulbous plants only during prolonged drought. Excessive watering can lead to rotting of the bulb and subsequent death.
The bulbs not only absorb important nutrients during the flowering period, but also store them in late summer for the new plant. If you want to support the plant, one dose of fertiliser in late summer is enough. This is when demand is highest. When choosing a fertiliser, you should opt for an organic fertiliser, which is less rich in nitrogen. Our Plantura Flower Food provides the plant with the most important nutrients over a long period of time and offers a potassium-rich formulation. The potassium increases the resistance and frost hardiness of the bulb and thus the plant.

- Perfect for flowering plants in the garden & on the balcony
- For healthier plants with beautiful & long-lasting blossoms
- Long-lasting fertiliser that is free from animal products - child & pet friendly
Over time, for example, daughter bulbs form large underground stocks, depending on the species. The new plants have little chance of flowering due to the high competitive pressure. This concerns especially species that like to grow solitary. Stocks should be loosened occasionally. To do this, first dig up the stock. Divide the mother bulb from the daughter bulb formed on the side and reinsert the bulbs with ample spacing, depending on the species.
Cutting ornamental onion
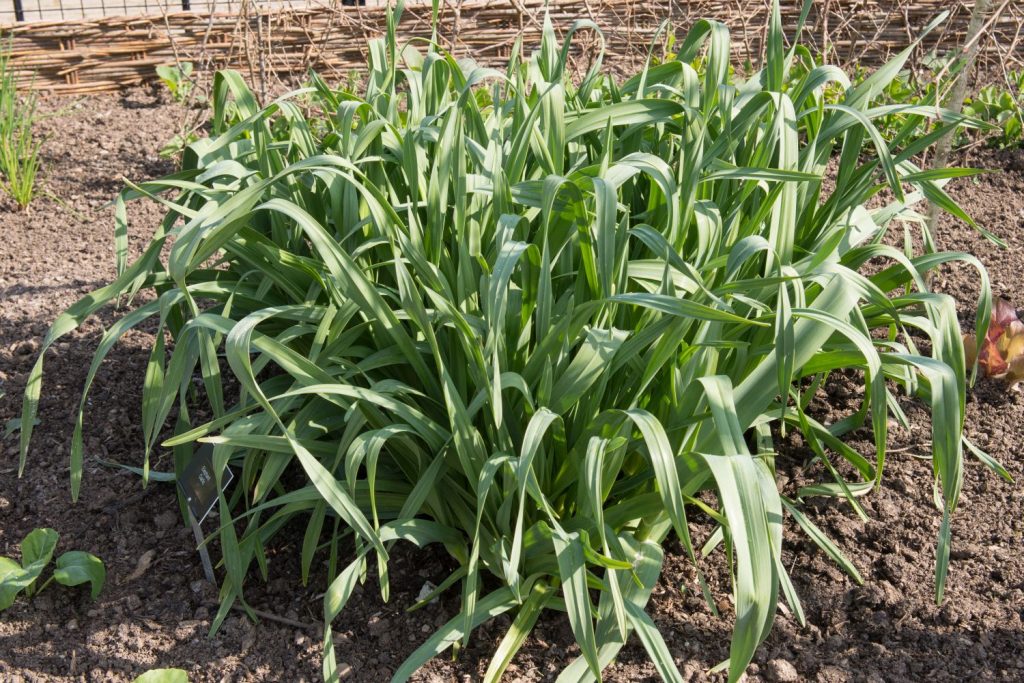
Cut your ornamental onions down in the autumn at the earliest, once the leaves have dried up and died. Until then, nutrients from the leaves and shoots are still transferred to the bulb and stored there for the winter and new shoots in the spring.
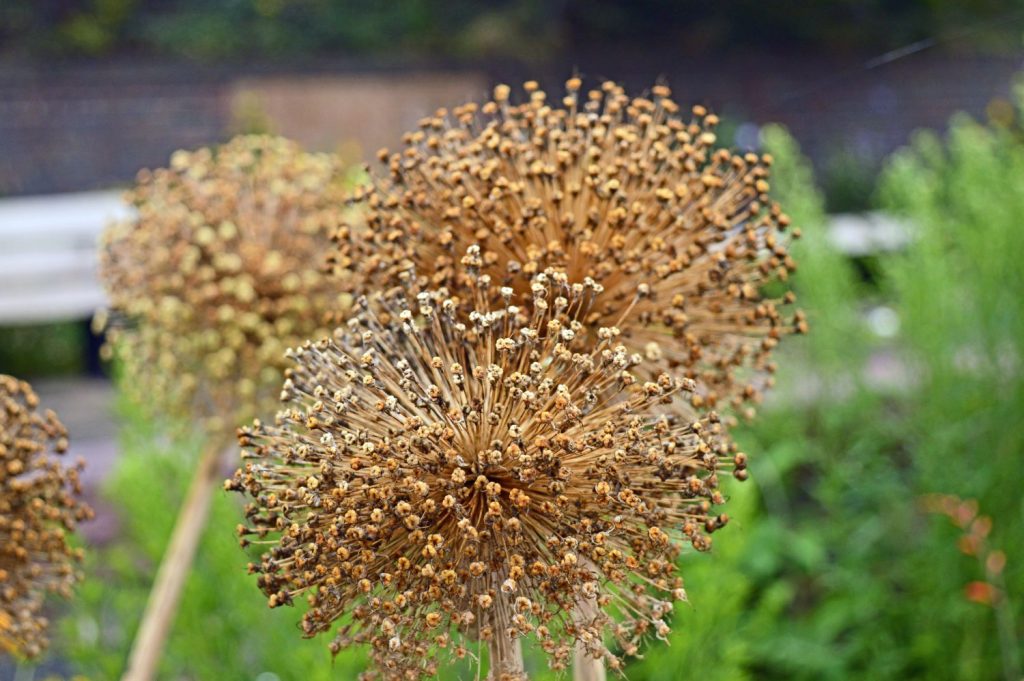
Ornamental onion has faded: What should you do?
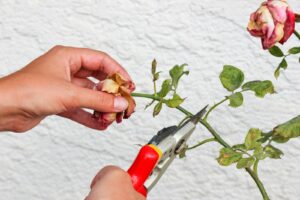
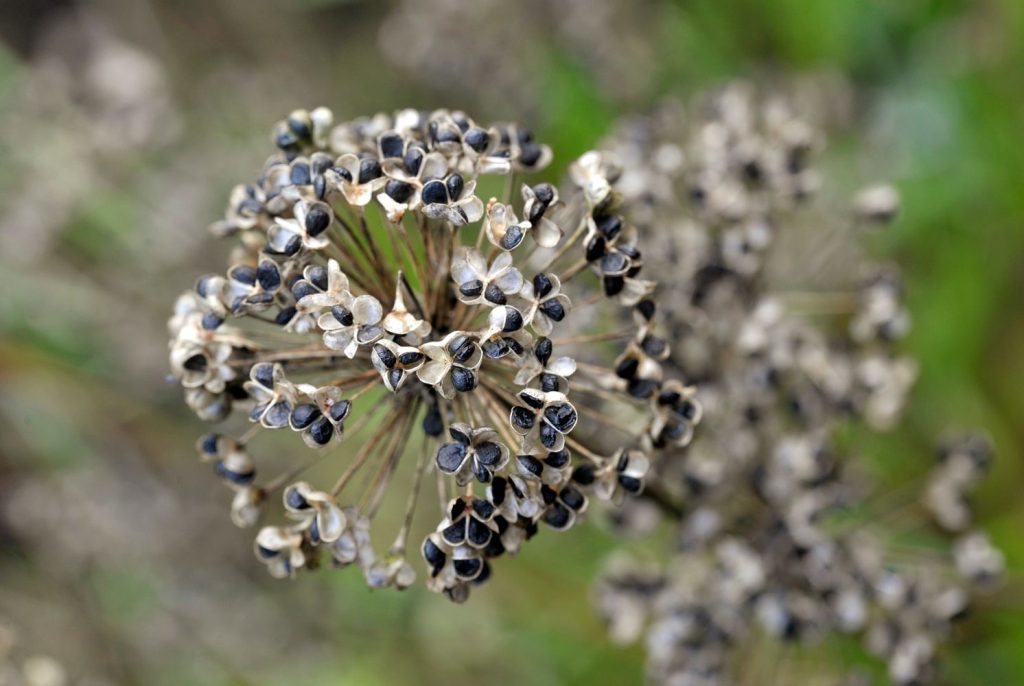
The allium flowerheads are usually cut after flowering to prevent seed maturation and self-seeding. Seed ripening costs strength and nutrients and can inhibit the return of the onion perennial. If you welcome self-seeding, leave the ornamental onion seed stand. These also look very pretty when dried, whether in the garden or harvested in a dried bouquet.
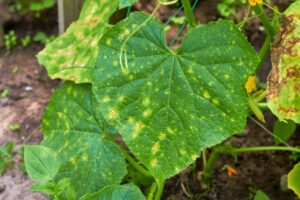
Yellow leaves on ornamental onions: What should you do?
Yellow leaves on ornamental onions do not indicate a deficiency but are completely normal. After flowering, nutrients from the leaves are shifted to the Allium bulbs, which is why they turn yellow and later die. With the help of these nutrients, the bulb survives the winter and can sprout again in the spring. So do not cut off living leaves – the ornamental onion will thank you the following year.
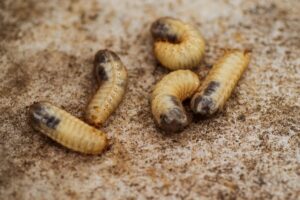
The leaf-miner fly (Agromyzidae), which frequently occurs on allium plants, causes considerable damage The larvae eat through the leaves, causing visible mine tunnels. The leaves then dry out and die prematurely. If possible, the pest should be controlled biologically. For example, ichneumon wasps can be used as natural counterparts or neem preparations can be used. It efficiently rids the plant of pests through its subsystemic action, while being gentle on the environment and other insects. The active ingredient is extracted from the seeds of the neem tree.
If the plant is already damaged and there is also waterlogging, fungal pathogens have an easy time of it. Phytophthora porri, for example, known as Phytophthora root rot, frequently occurs on allium. This fungal pathogen is easily recognised by the first watery, later papery spots on the leaves. The affected parts should be removed as soon as possible to prevent the disease from spreading. In the case of severe infestation, it may even be necessary to replace the soil or even apply fungicide.
Probably the most famous bulb is the tulip (Tulipa). Read here everything about flowering and care of the tulip and turn your garden into a spring wonderland.